

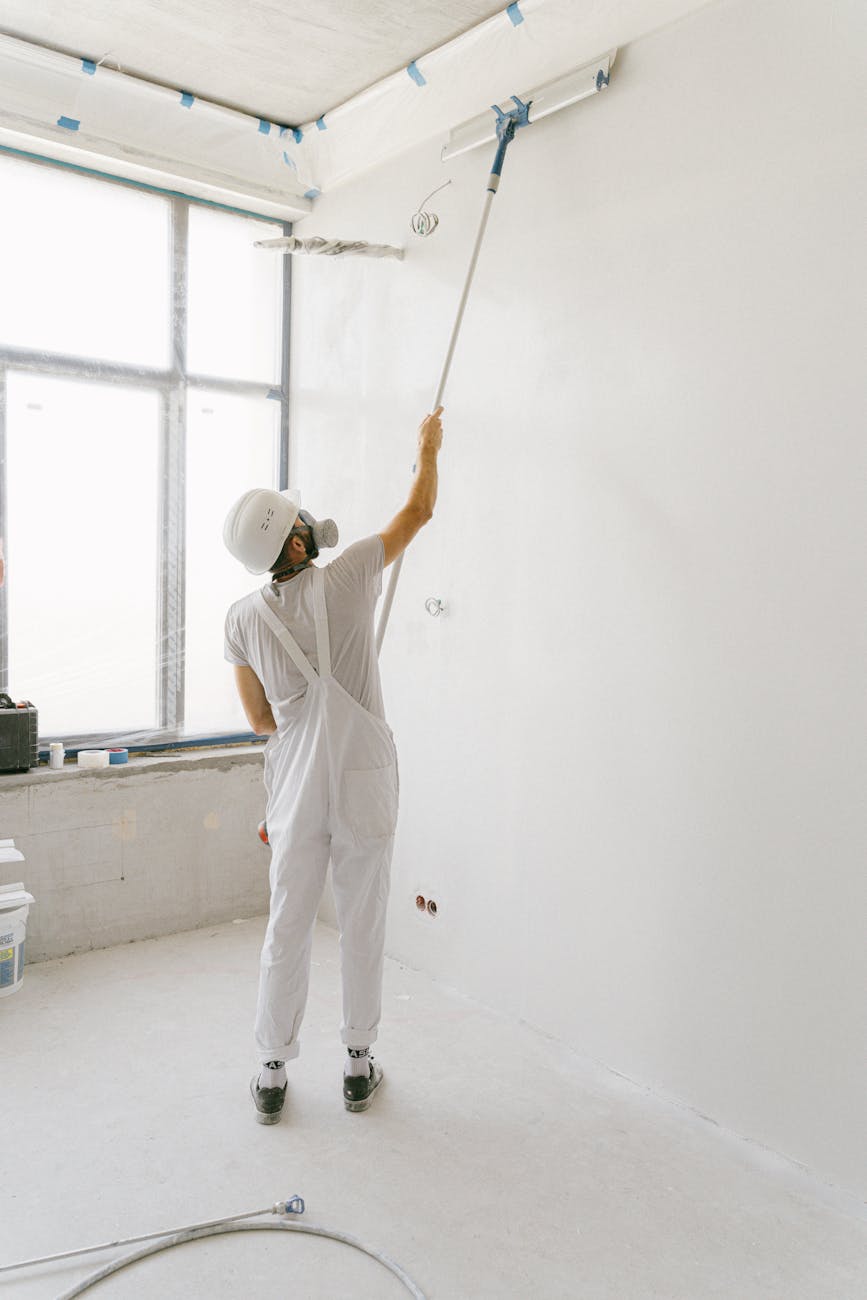
Navigating the end of a lease agreement requires more than a simple tidy-up; it demands a strategic approach to end of tenancy cleaning to ensure the full return of your security deposit. In this guide, you will learn how to execute a professional-grade clean that meets the strict criteria set by inventory clerks and landlords. We will cover comprehensive room-by-room checklists, the essential equipment required for deep sanitation, and the legal standards governing property handovers. By following this evidence-backed framework, you can mitigate the risk of deposit deductions and fulfill your contractual obligations with precision and efficiency.
- Focus on high-traffic areas and appliances, which account for over 60% of deposit disputes.
- Use an inventory-linked checklist to ensure no square inch of the property is overlooked.
- Understand your rights regarding “fair wear and tear” versus actual cleaning deficiencies.
What are the Legal Standards for Property Cleanliness in 2026?
The standard for a tenant’s exit clean is generally defined by the state of the property at the commencement of the tenancy, as documented in the initial inventory report. Legally, you are required to return the property in the same condition, minus fair wear and tear. This includes the removal of all lime scale, grease, and dust from surfaces that were pristine upon move-in.
In the United Kingdom, the Tenancy Deposit Scheme (TDS) regulations provide a framework for how deposits must be handled and what constitutes a valid claim for cleaning costs. Landlords cannot charge for improvements, but they can deduct the exact cost required to restore the property to its original hygienic state. Evidence, such as date-stamped photographs and professional receipts, remains the most effective way to resolve disputes.
How Do You Prioritize the Kitchen Deep Clean?
The kitchen is the most scrutinized room during a checkout inspection. Grease accumulation on extractor fans and carbon deposits inside ovens are the primary reasons for failed inspections. Begin by applying a heavy-duty degreaser to the oven racks and interior walls, allowing it to dwell while you focus on upper cabinetry.
Ensure that all appliances, including the dishwasher and washing machine, are cleaned internally. This involves clearing filter traps and running a descale cycle. Do not forget the areas behind and beneath freestanding appliances; inventory clerks frequently pull these out to check for hidden debris or pests.
Sanitizing Countertops and Sinks
Porous surfaces like granite or wood require specific pH-neutral cleaners to avoid staining. Stainless steel sinks should be buffed to a shine, ensuring all water spots and limescale around the faucet base are eliminated. A microfiber cloth used with a white vinegar solution is often the most effective way to achieve a streak-free finish on chrome fixtures.
Which Bathroom Areas Are Most Frequently Flagged by Inspectors?
Limescale and mold are the two biggest enemies in the bathroom. In hard water areas, calcium carbonate buildup on showerheads and glass screens can be stubborn. Use an acidic cleaner to dissolve these minerals, ensuring the glass is transparent and free of cloudy residue.
Grout lines must be scrubbed to remove any orange or black mold spores. If the mold has penetrated the silicone sealant, cleaning may not be enough, and re-caulking might be necessary to meet “professional standard” requirements. Ensure the toilet is descaled not just in the bowl, but also under the rim and around the base.
Cleaning Ventilation and Tiling
Extractor fans in bathrooms often collect damp dust that can lead to motor failure or poor air quality. Vacuum the vents and wipe the covers. Wall tiles should be wiped down to remove soap scum, which creates a dull film that is easily spotted under high-intensity inspection lights.
What Is the Best Sequence for Living Areas and Bedrooms?
The most efficient workflow for dry rooms is the “top-to-bottom” method. Start by removing cobwebs from ceiling corners and light fixtures. Dusting the tops of door frames, picture rails, and curtain poles prevents dust from falling onto surfaces you have already cleaned.
Walls should be spot-cleaned for scuffs, though you must be careful not to remove the paint. Use a damp magic eraser for stubborn marks. Windows must be cleaned internally, including the frames and sills, as these are major catchments for dead insects and dust. Finally, move all furniture to vacuum the carpets or mop the hard flooring underneath.
Addressing Upholstery and Carpets
If the tenancy agreement specifies professional carpet cleaning—often required if pets were present—ensure you keep the receipt. Otherwise, a thorough vacuuming using a HEPA-filter machine is standard. For hard floors, ensure there are no streaks or sticky residues left by cleaning agents, as these attract fresh dust immediately.
What Equipment and Chemicals Are Essential for Success?
Professional cleaners rely on a specific kit to achieve high-speed, high-quality results. You will need a high-suction vacuum with crevice tools, a variety of microfiber cloths (color-coded for different rooms), and a heavy-duty degreaser. An alkaline cleaner is best for organic fats in the kitchen, while an acidic cleaner handles mineral deposits in the bathroom.
According to industry data from the British Institute of Cleaning Science (BICSc), using the correct dwell time for chemicals can reduce physical scrubbing effort by up to 50%. This means letting the product sit on the surface to break down grime before wiping. Safety equipment, such as rubber gloves and adequate ventilation, is mandatory when working with concentrated solutions.
How to Conduct a Pre-Inspection Walkthrough?
Before handing over the keys, perform a walkthrough using the original inventory as your guide. View the property through the eyes of a stranger. Check the “hidden” spots: the inside of the cutlery drawer, the top of the fridge, the tracks of sliding doors, and the slats of Venetian blinds.
If you find any minor damages that fall outside of cleaning, such as a blown lightbulb or a loose cabinet handle, address them now. Providing a property that is both clean and functional signals to the landlord that the premises have been well-maintained, which often leads to a smoother and faster deposit release process.
Finalizing your end of tenancy cleaning requires a methodical approach and attention to the smallest details. By documenting your work with high-resolution photographs and keeping all receipts for specialized services or cleaning supplies, you create a robust paper trail. This evidence is your primary defense in the event of a dispute. Once the final wipe-down is complete and the floors are dry, take one last set of photos of every room to confirm the condition at the moment of your departure.